How Stone Countertops Are Fabricated: From Slab to Installation
Stone countertops are fabricated in six main stages: selecting the slab, templating the exact space, cutting the stone, shaping the edges, polishing the surface, and installing it in your home. Most of that work happens in a fabrication shop long before anyone shows up at your door. The finished counter you run your hand across started as a rough slab that had to be measured, cut, and finished with real precision.
Here’s the part most homeowners don’t realize: a lot of companies that sell countertops don’t actually make them. They design the kitchen, then hand the stone off to a separate fabricator and hope the two ends meet in the middle. We do it differently. We handle fabrication in-house in Naperville, which is why we can walk you through exactly how it works, start to finish.
Step 1: Choosing the slab
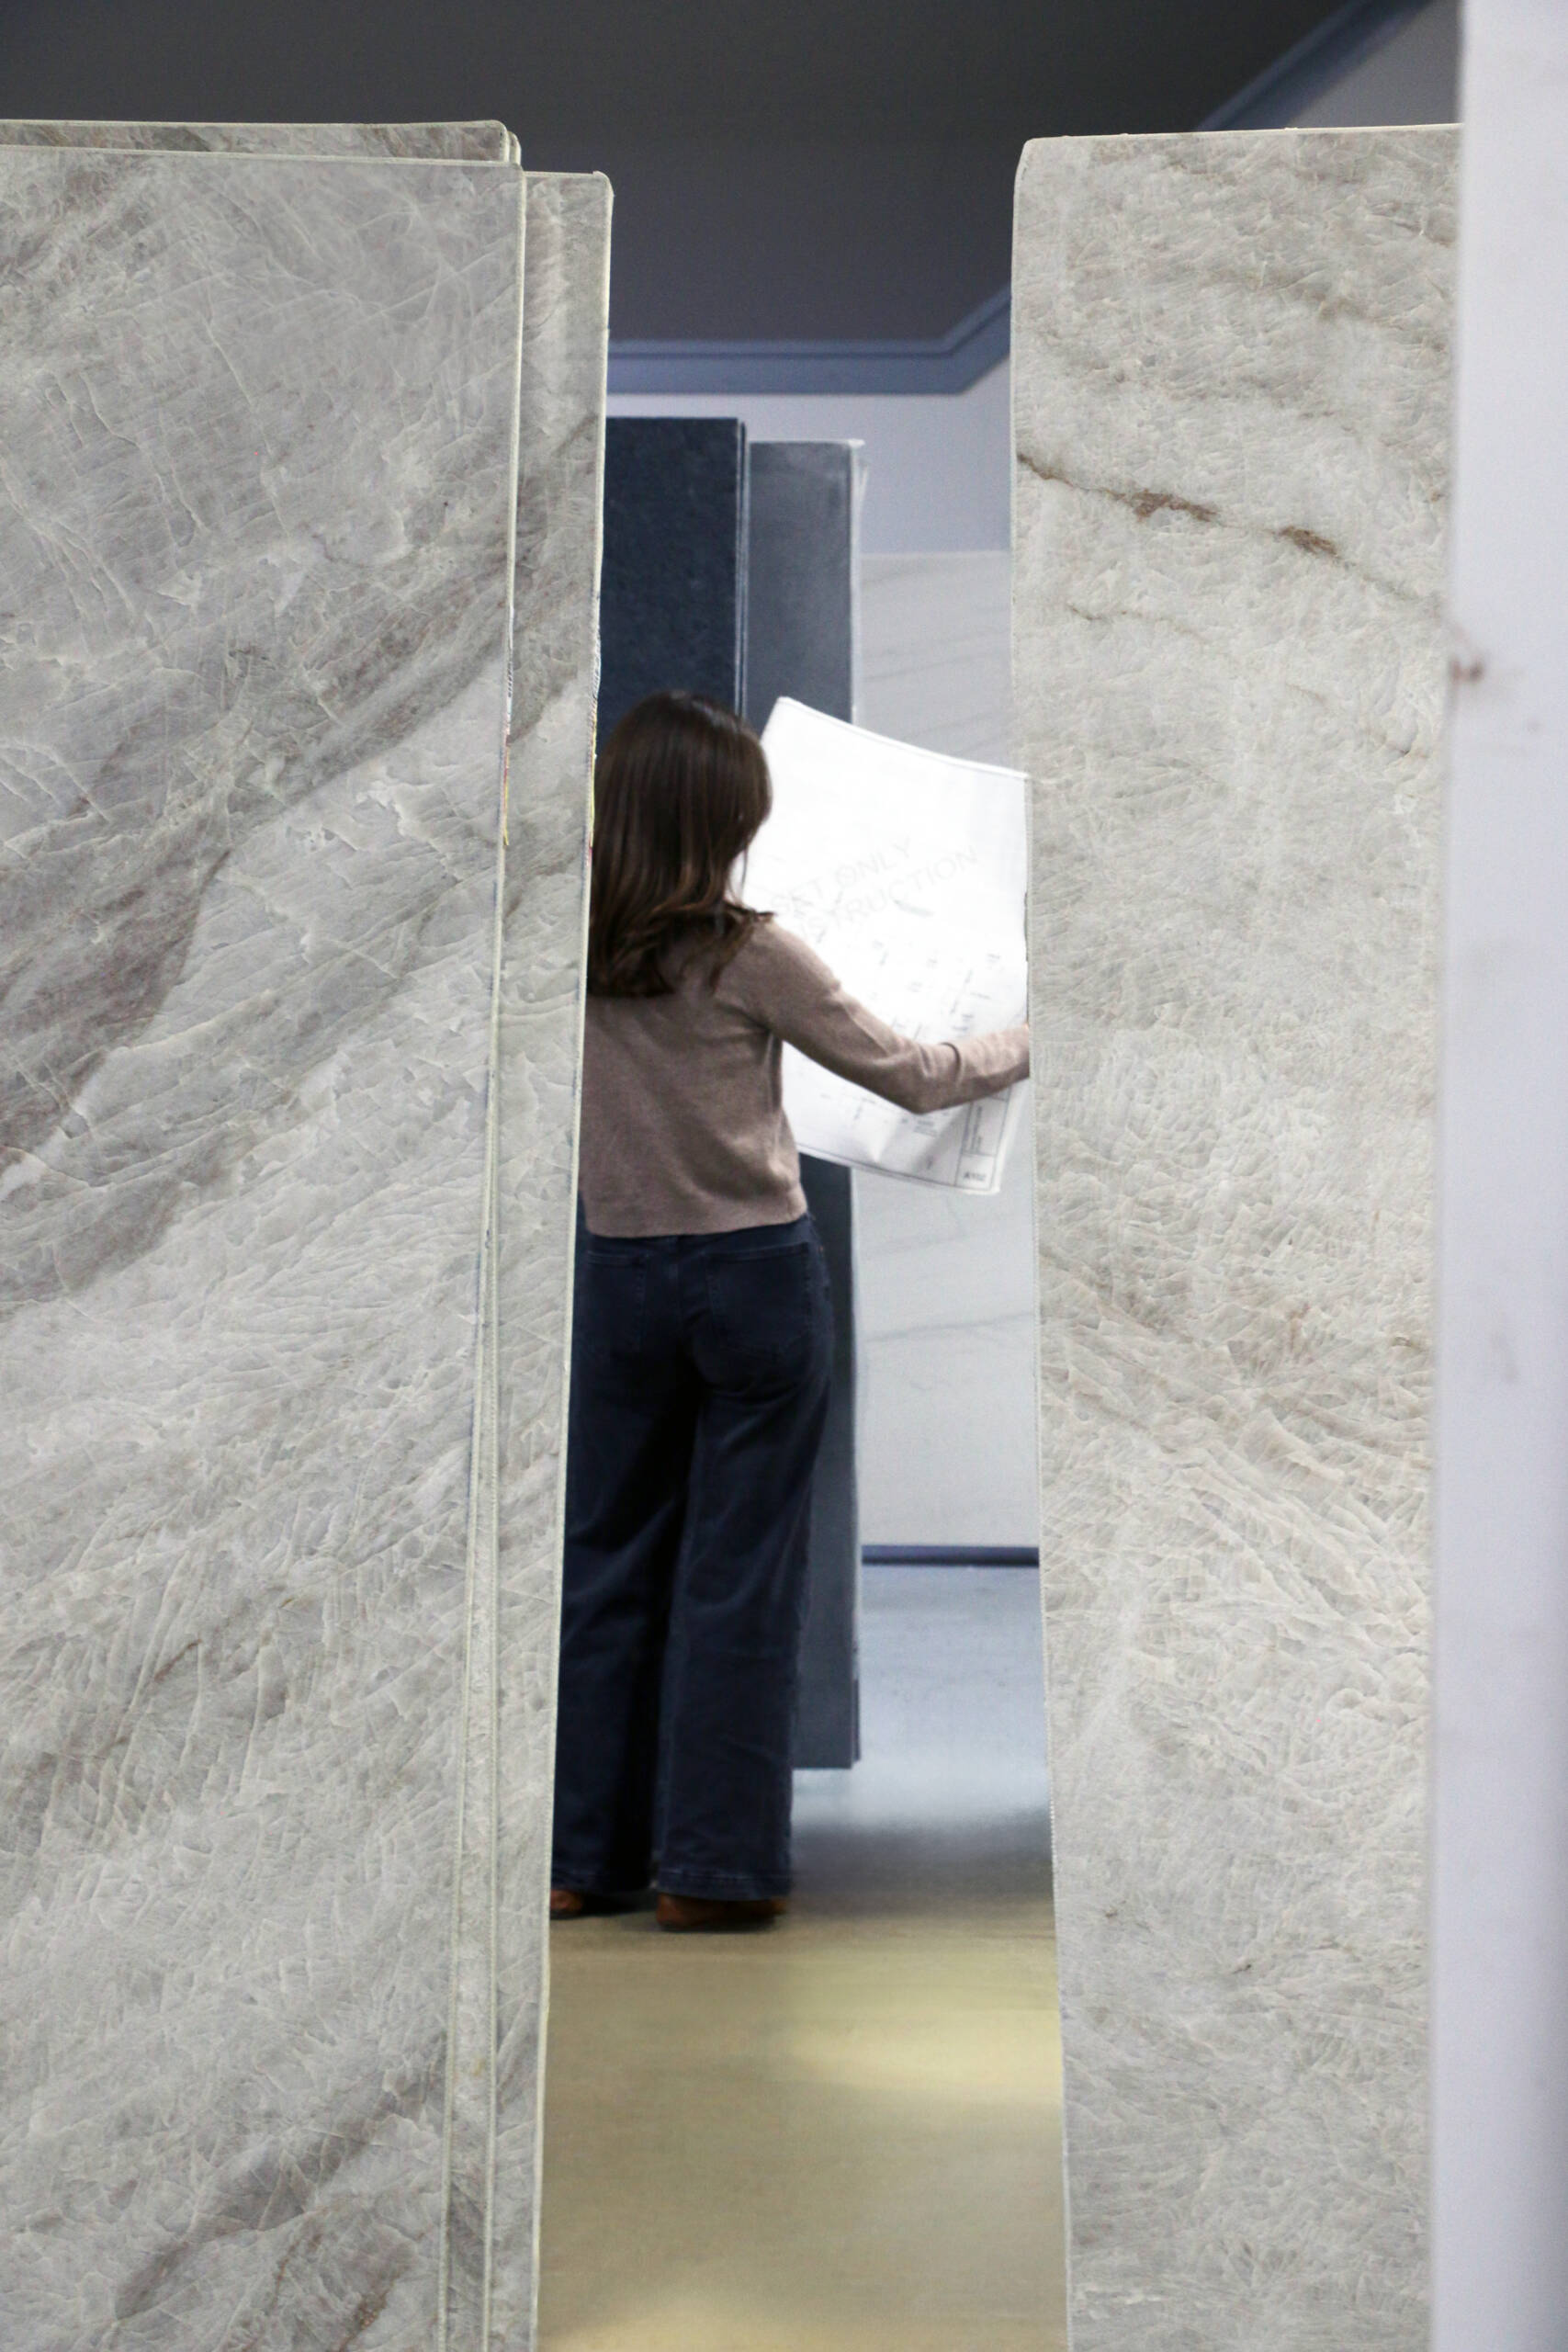
Every stone countertop begins as a full slab and no two slabs are the same. Granite, quartzite, and marble are natural stone, so the veining, color, and movement shift from one slab to the next even within the same material. Quartz is engineered, so it’s more consistent, but you still want to see the actual piece before you commit.
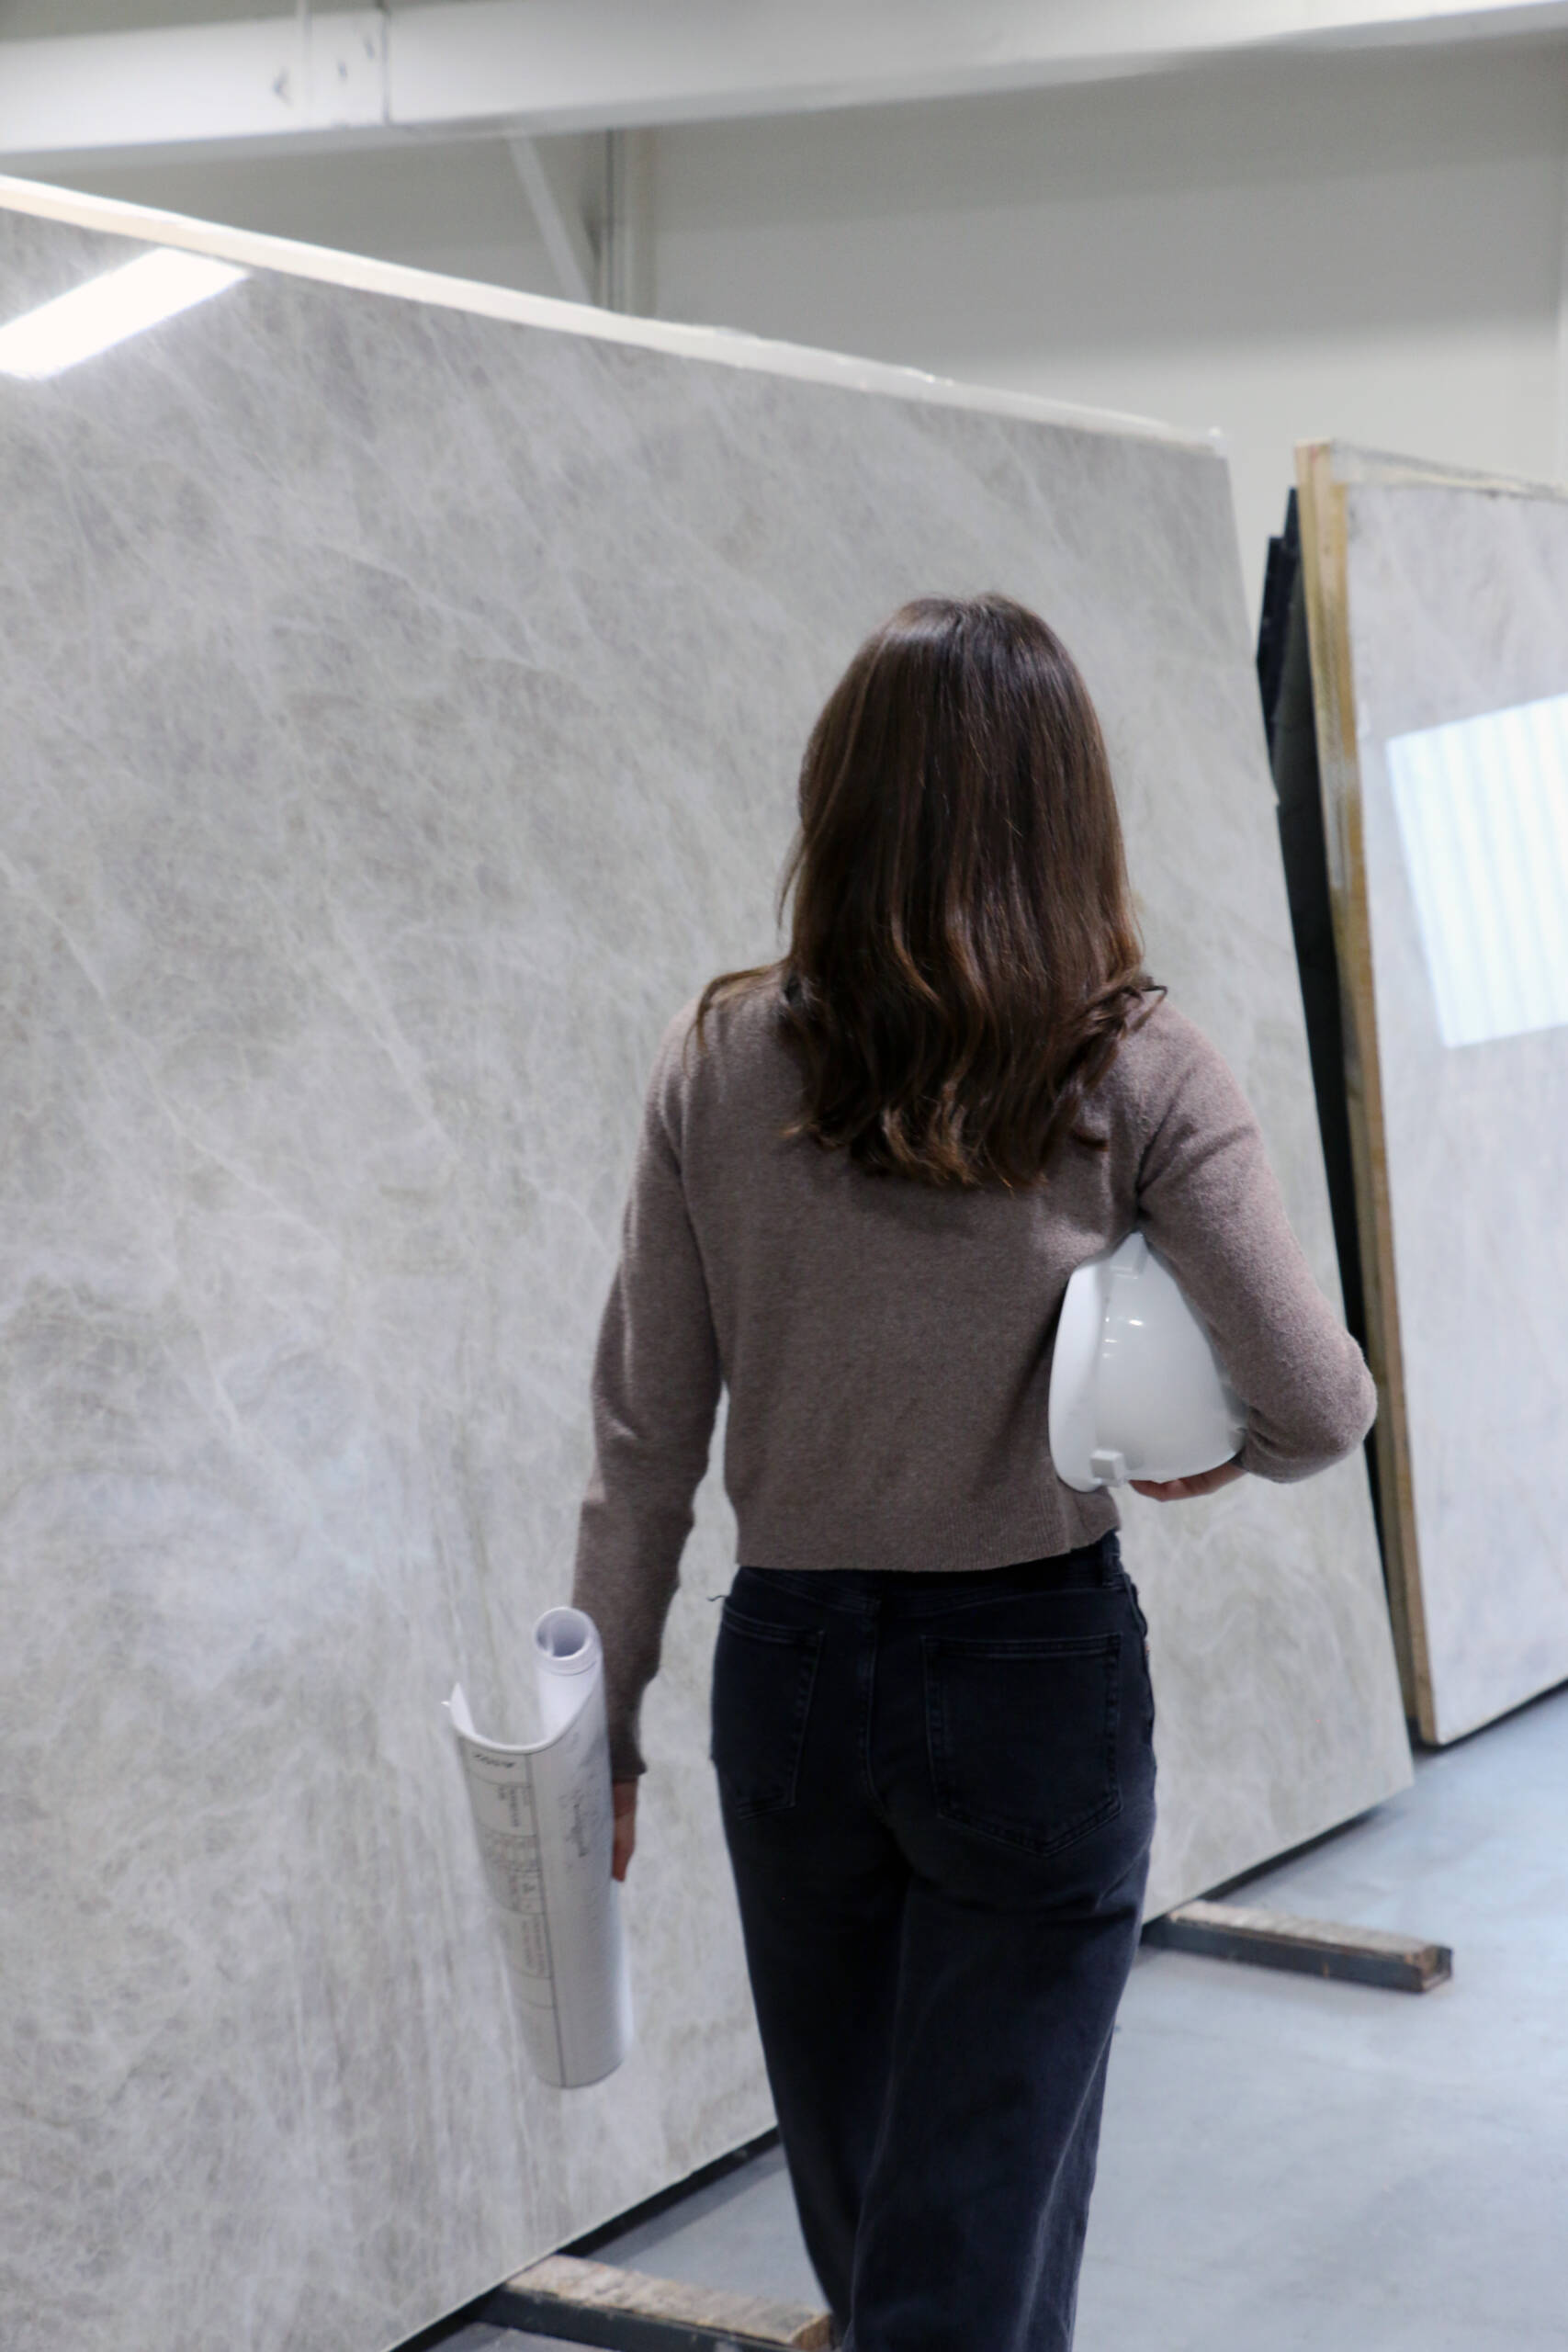
We recommend that our customers come see full slabs in person rather than picking from a small sample chip. A two-inch square can’t show you how a dramatic vein is going to run across a seven-foot island. When you’re standing in front of the whole slab, you can see where the striking part of the stone lives and plan the layout around it.
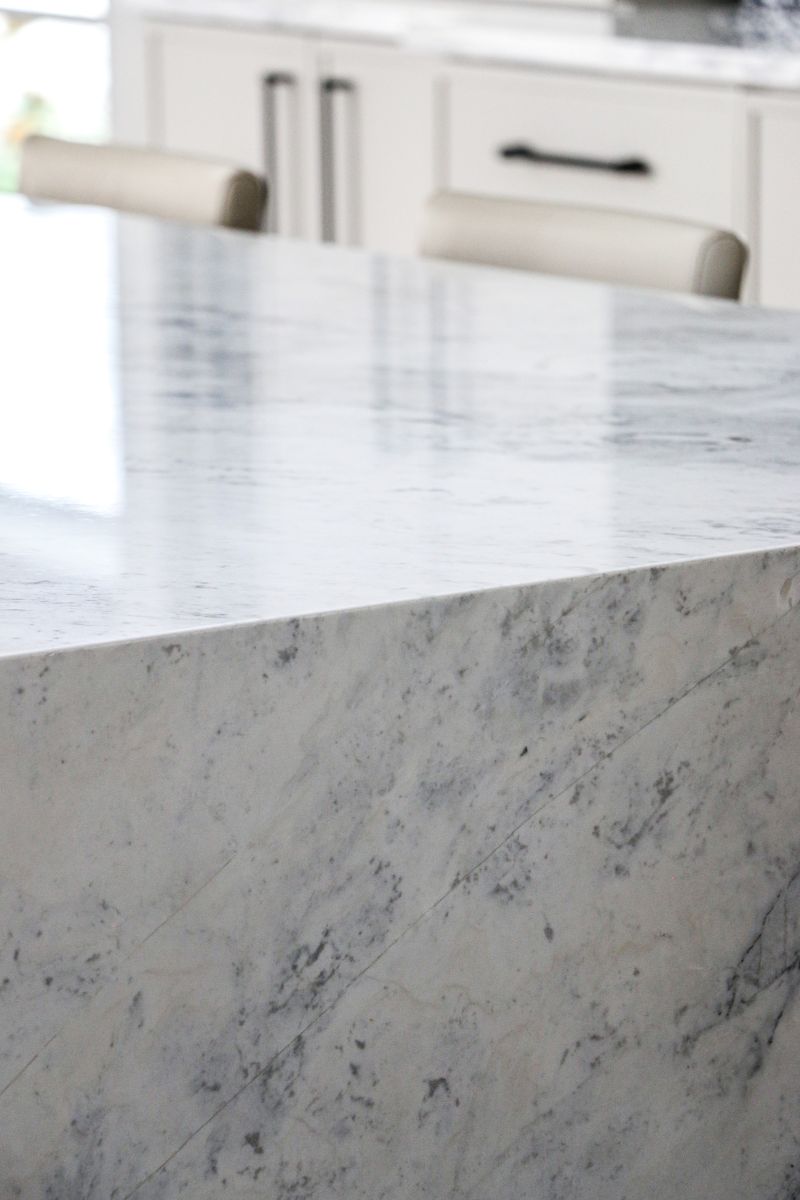
Slab selection for bigger projects is also where you decide how many slabs you need and how they’ll be matched. On a kitchen with a waterfall island, for example, the veining has to flow continuously from the countertop down the sides, which means those pieces all have to be cut from the same slab in the right sequence.
Step 2: Templating the space
We template once your cabinets are set. Templating is where we capture the exact dimensions of the space the stone has to fit, every wall, every angle, every spot where the counter meets a window or turns a corner. Cabinets are never perfectly square and walls are rarely perfectly straight, so a measurement taken off a drawing isn’t good enough for stone. Stone doesn’t forgive a bad measurement because once it’s cut, it’s cut.
A good template accounts for overhangs, the sink location, the cooktop cutout, faucet holes, and how the backsplash will land. Get this stage right and the pieces drop into place on installation day. Get it wrong and you’re re-cutting an expensive slab.
Step 3: Cutting the stone
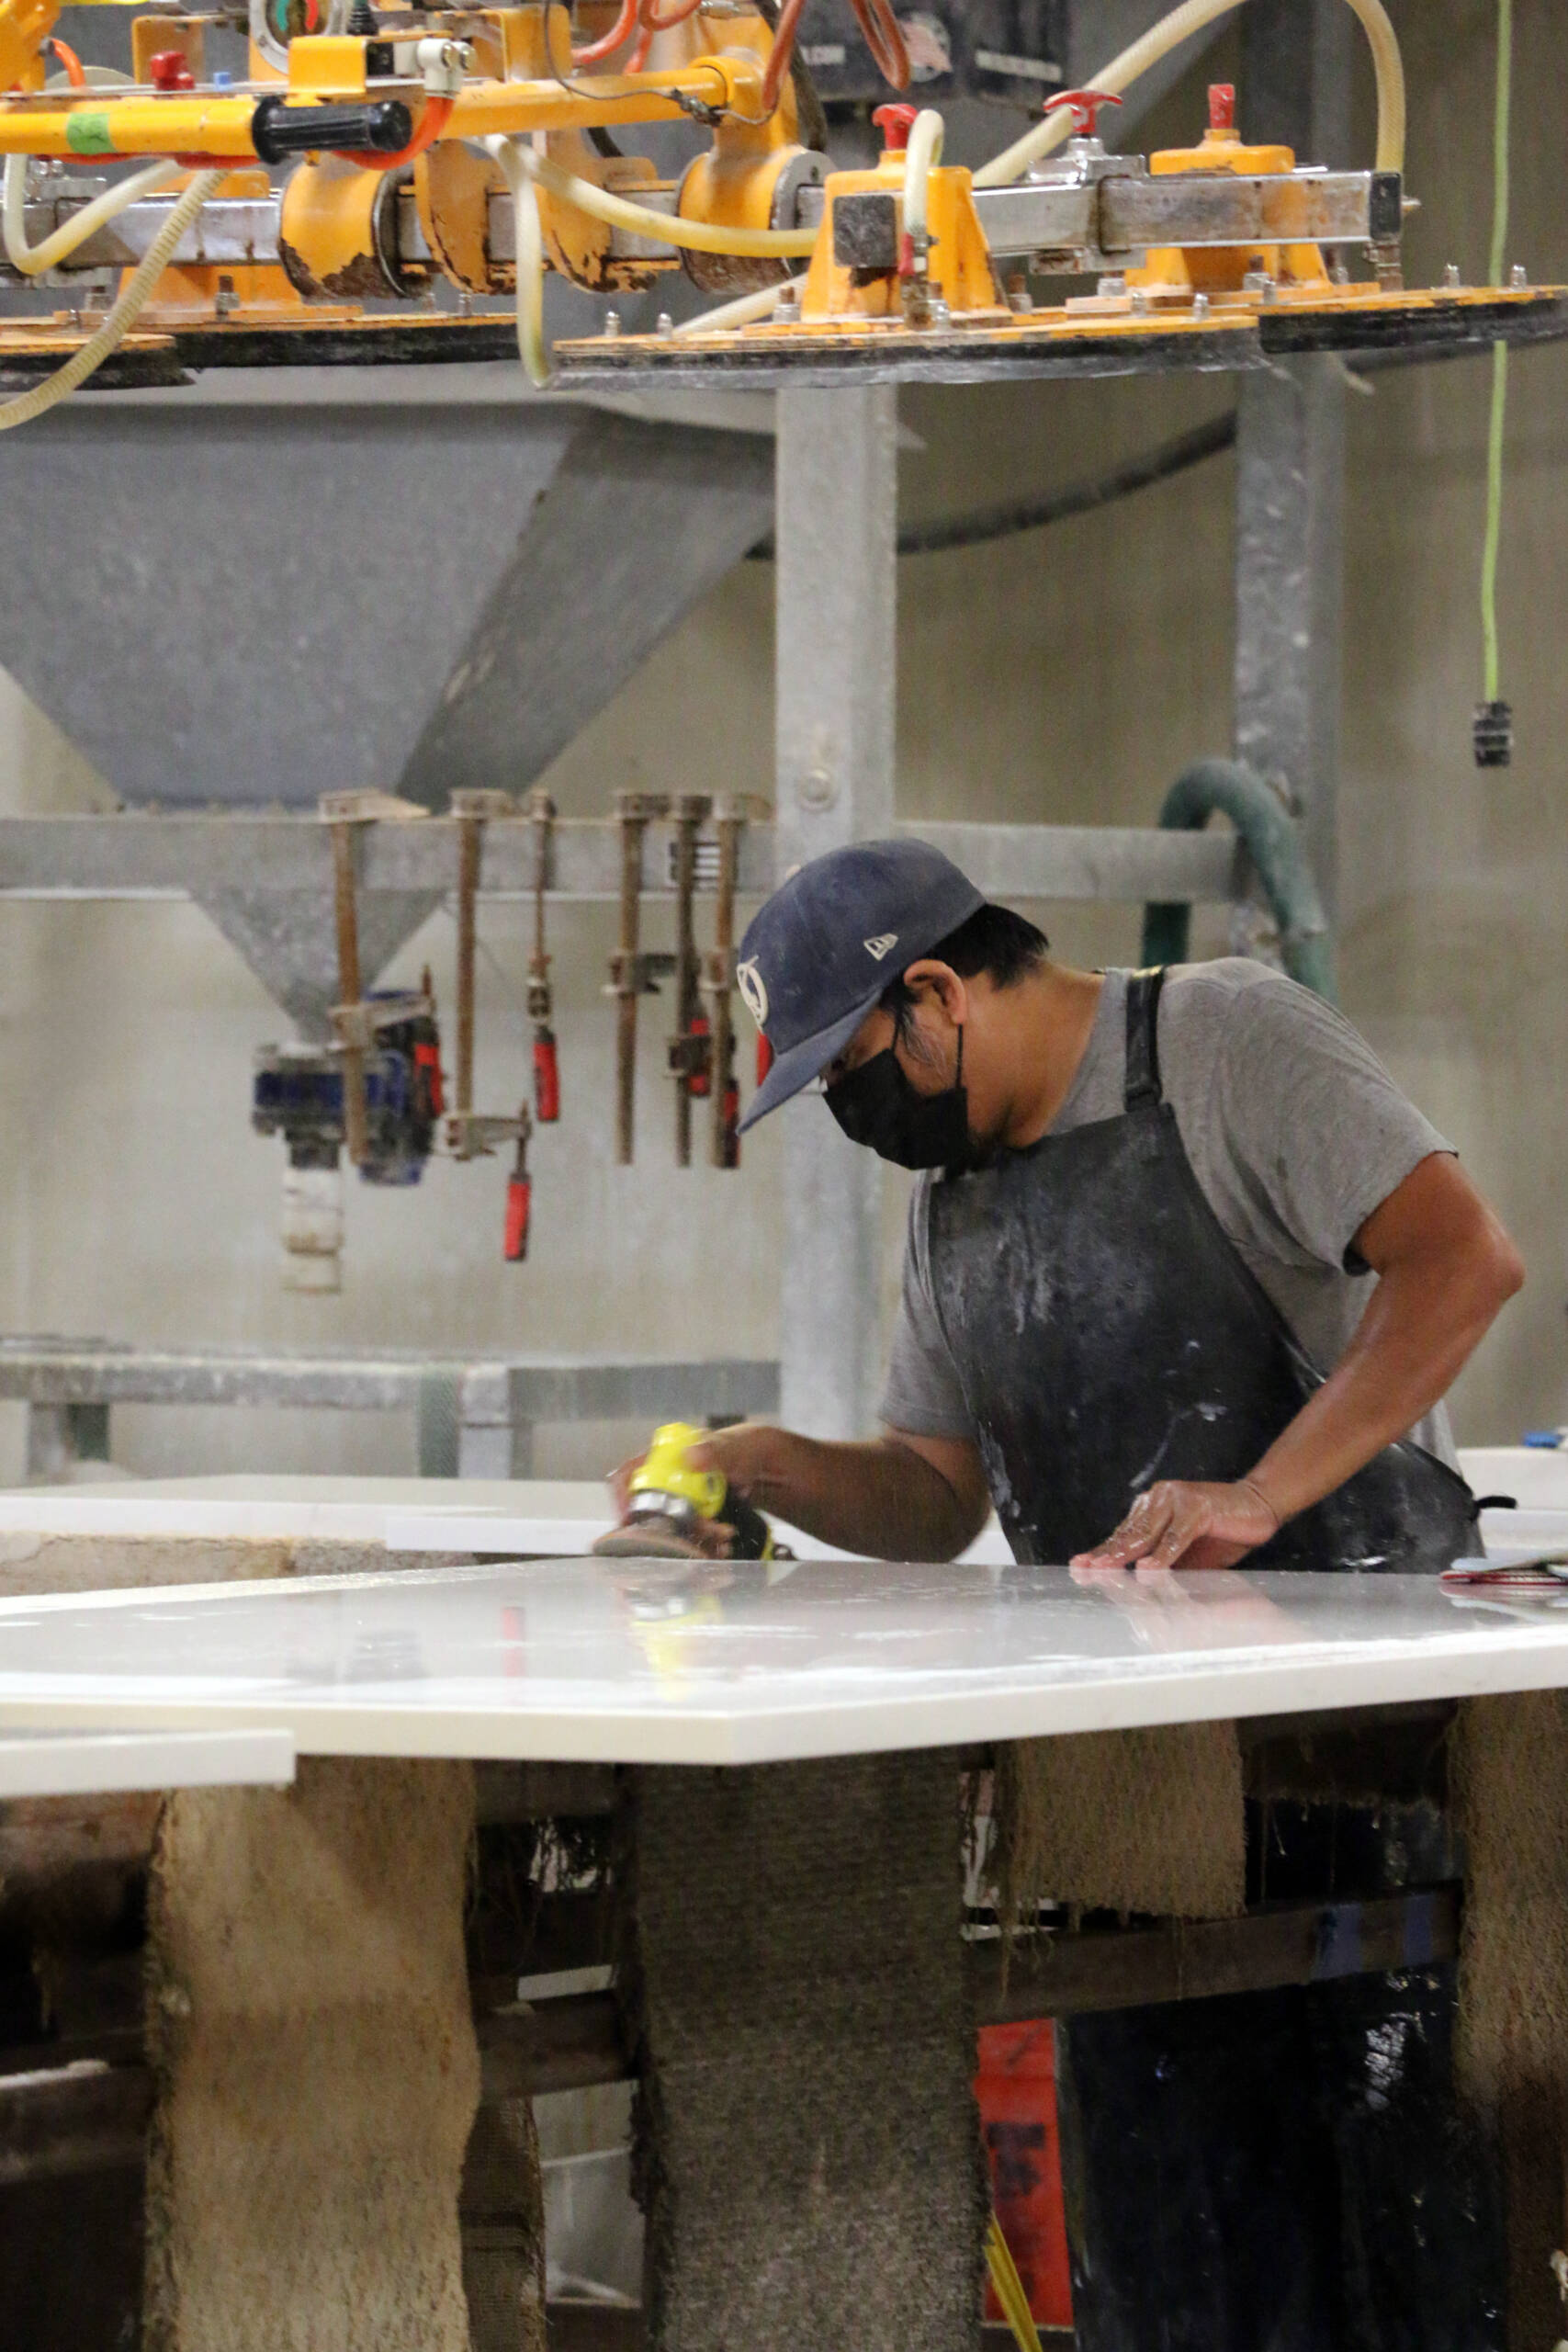
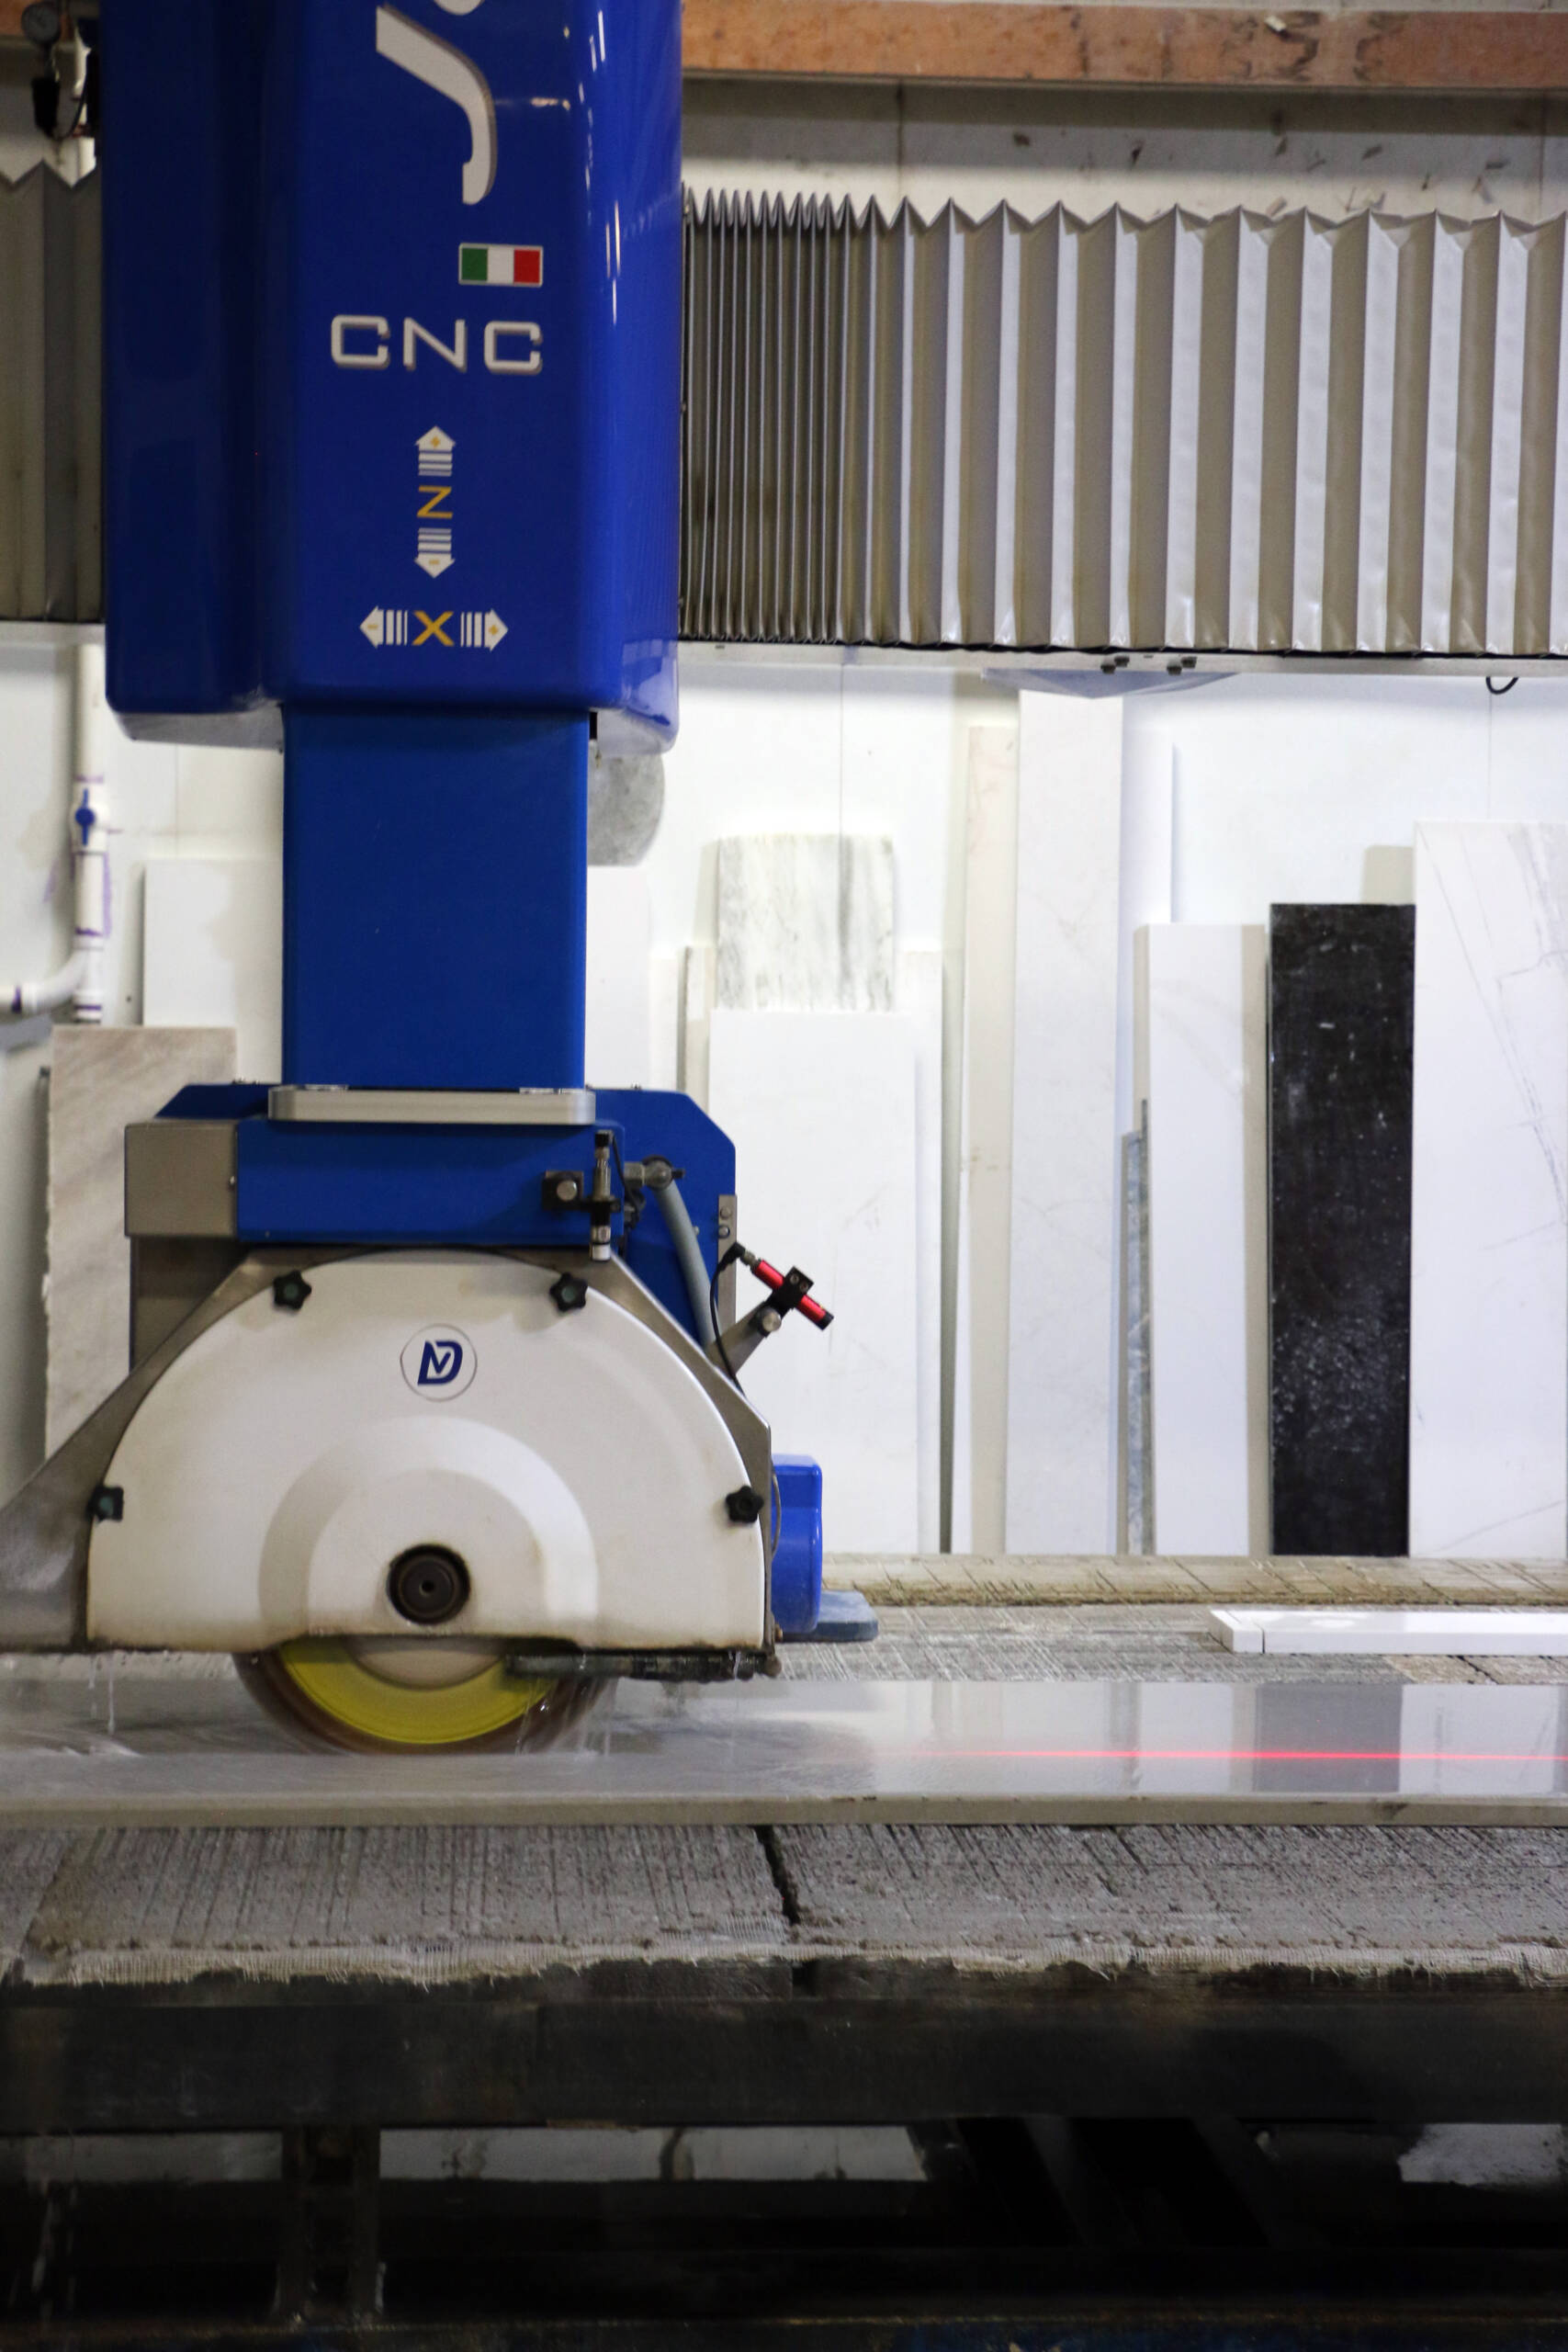
With the template locked in, the slab gets cut to shape. Modern fabrication uses digital templating and CNC-guided saws and waterjets, which let us cut complex shapes and tight radius corners accurately. The rough cuts define the perimeter, the sink and cooktop openings and any special shapes required by the design.
Seams get planned at this stage as well. On a large kitchen you’ll almost always need more than one piece of stone, so part of the craft is placing seams where they’re least visible and where the veining can be matched across the joint. A well-placed seam on a busy natural stone will be hard to spot.
Step 4: Shaping the edges
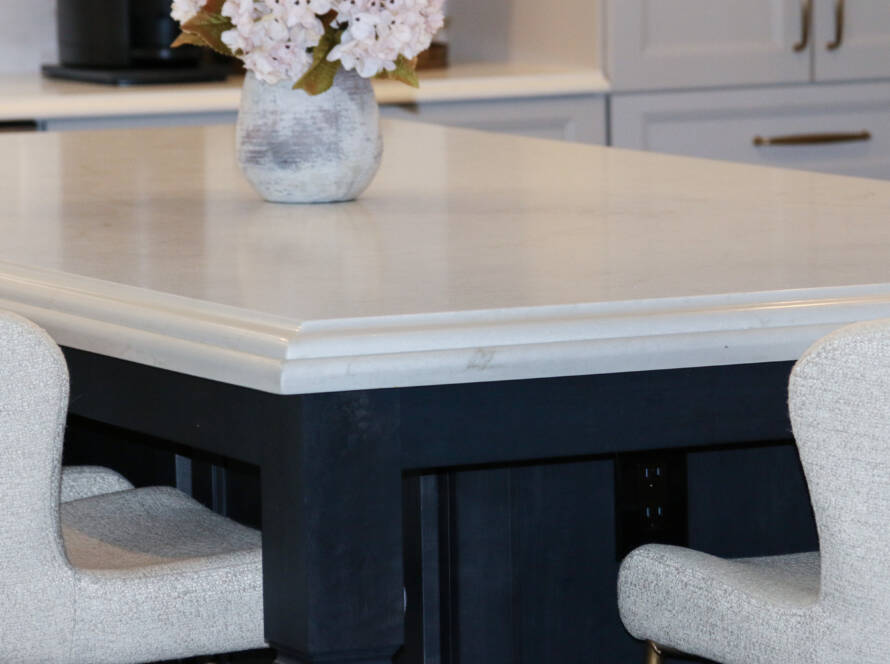
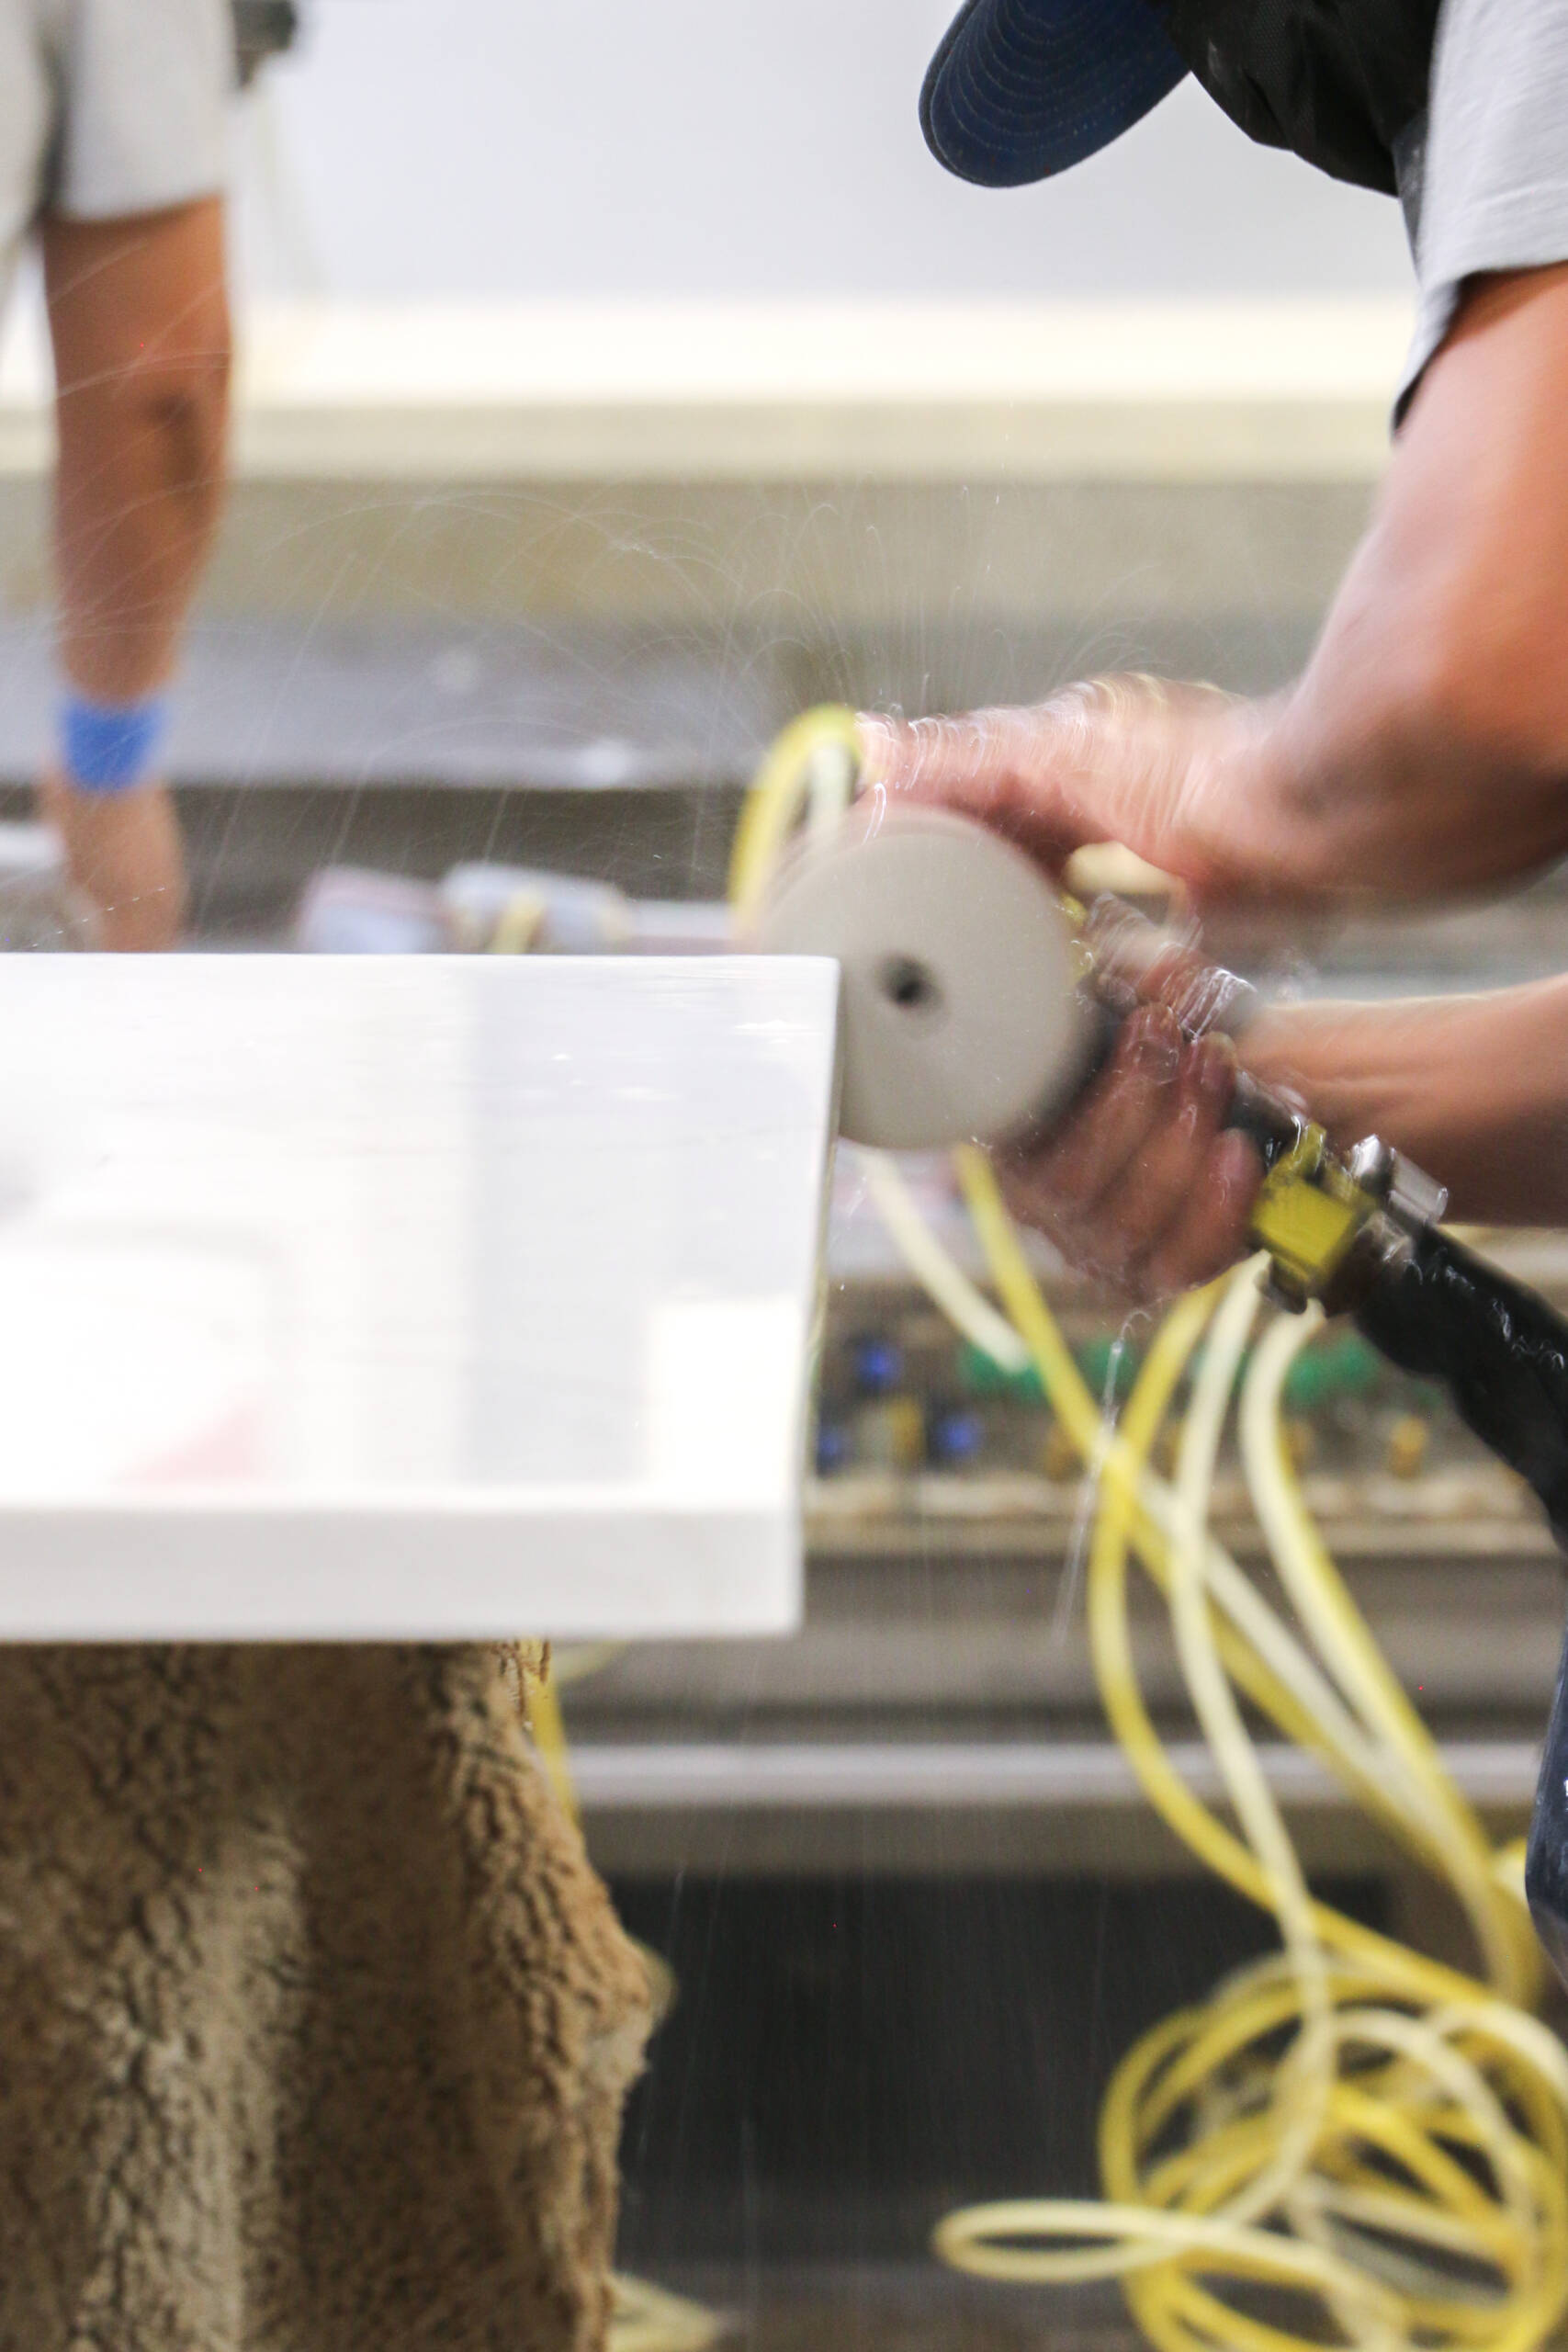
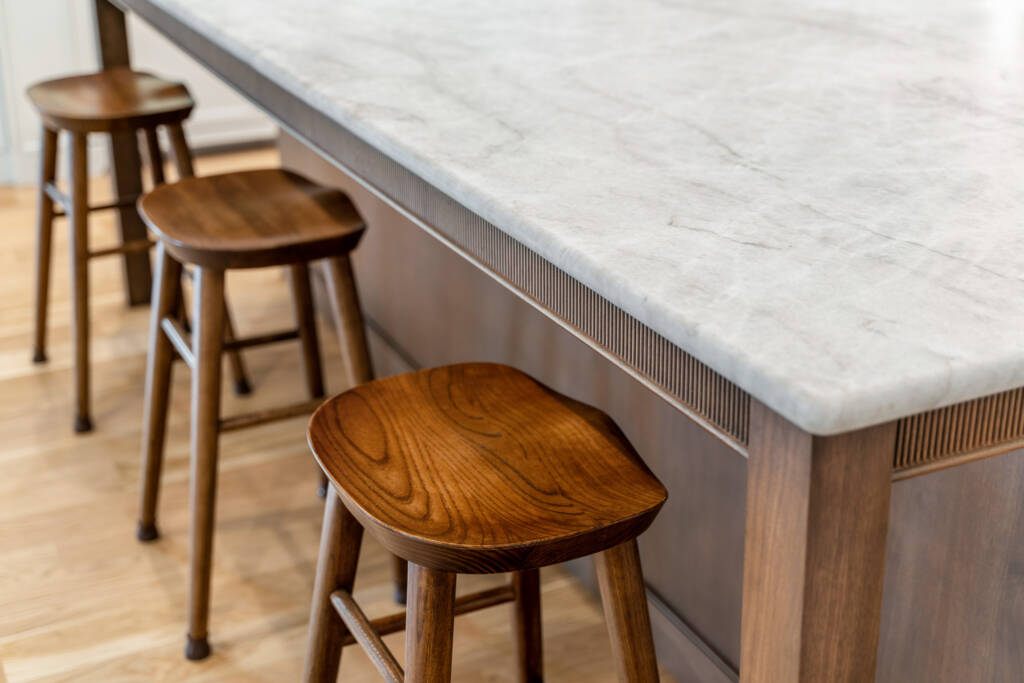
The edge profile is one of the biggest decisions in how a finished counter reads and it’s pure fabrication work. A simple eased or bullnose edge is clean and understated. A mitered edge, where two pieces of stone are joined at an angle to make the countertop look thicker than the slab actually is, takes real skill.
Here’s a concrete example from our own shop. On one recent project, a scullery in a larger home, we took a 3cm slab and mitered it down to a 1¾-inch square polished edge, and ran the counters with no visible outlet cutouts because the outlets were hidden under the cabinets instead of chopped into the backsplash. Little decisions like that are the difference between a counter that looks fabricated and one that looks built.
The thicker the edge you want, the more the cabinetry underneath sometimes has to be adjusted to carry it. On a waterfall island with a substantial mitered edge, we’ve built the cabinet boxes to a specific profile so the stone has something to sit on. Fabrication and construction have to talk to each other, which is a lot easier when they’re the same team.
Step 5: Polishing and finishing
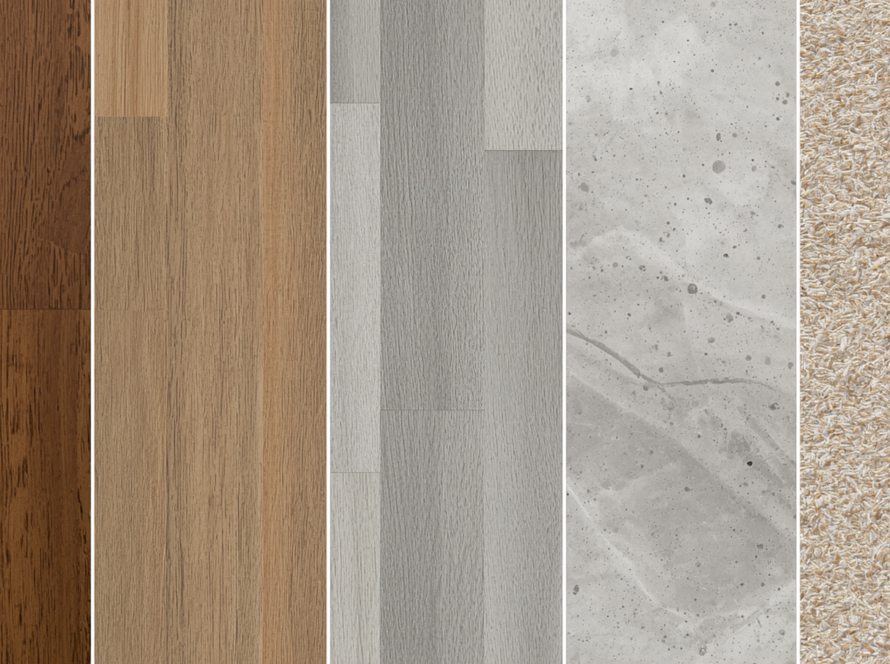
The surface gets its final finish after the stone is cut and the edges are shaped. Polished is the most common, that glossy reflective look most people picture. But honed (matte) and leathered (a soft textured finish that hides fingerprints and water spots) are popular, especially on darker stones and in busy family kitchens.
A leathered or honed surface shows smudges less than a high polish, which matters more than people expect on a kitchen island that gets used hard every day. We usually walk families through the tradeoffs here based on how they actually live, not just what looks best in a showroom.
Step 6: Installation
Installation is the last stage, and if everything upstream was done right, also the fastest. The finished pieces come to your home, get set onto the cabinets, leveled, and secured. Seams are joined and color-matched, the sink is set and the edges get a final polish where pieces meet. A clean template and careful cutting are what make install day quick and undramatic.
Why fabrication quality is important
You can buy the exact same slab of Taj Mahal quartzite from two different companies and end up with two very different countertops. The stone is the same, but the fabrication isn’t. Tight seams, clean miters, well-planned vein matching, edges that feel right under your hand, those all come from the shop, not the slab.
That’s why we’re a little skeptical of the “we don’t outsource” claim you’ll see from remodelers who still buy their countertops from a separate fabricator. If the stone still goes out to a third party to be cut, there’s a handoff in the most precise part of the whole job.
How we approach fabrication
We’ve been a family-owned design-remodel-build company in Naperville since 1992, and our stone fabrication shop is the piece that ties it together. Designers, fabricators, and installers all work under the same roof, so the person who helps you pick the slab is on the same team as the people cutting it and setting it.
When a full-height marble backsplash ran up into a vaulted ceiling on one of our kitchens, our fabricators built a custom marble shelf right at the transition instead of ending the stone in an awkward line, turning a tricky stopping point into one of the best features in the room. That kind of problem-solving happens because fabrication is in the conversation from the design stage, not brought in at the end.
If you’re planning a kitchen or thinking about new countertops, the best first step is to come see slabs in person and talk through what your space actually needs. We’ll show you real edges, real finishes, and the projects behind them.
Frequently Asked Questions
How long does it take to fabricate countertops?
Fabrication typically runs a couple of weeks from templating to installation, depending on the material, the complexity of the edges and cutouts, and the shop’s schedule. Templating happens after cabinets are installed, and install day itself is usually quick when the earlier stages were done carefully.
Can I replace my countertops without replacing my cabinets?
Yes. As long as your existing cabinets are structurally sound and level, new countertops can be templated and installed over them. It’s one of the most common ways to refresh a kitchen without a full remodel, and it’s a project we do often.
What is a mitered edge on a countertop?
A mitered edge joins two pieces of stone at an angle so the countertop looks thicker than the actual slab. It’s how fabricators create a substantial two-inch or thicker edge from a standard slab. Done well, the seam is nearly invisible and the edge looks like solid stone.
Why should I see a full slab instead of a sample?
Natural stone varies across every slab, so a small sample can’t show you how the veining and color move across a full countertop. Seeing the whole slab lets you plan the layout around the most striking part of the stone and match veining across seams and waterfall panels.